Configuring Grub 2 on CentOS 7 to Dual Boot with Windows 7
This post assumes that Windows was installed first, and then CentOS was installed second.
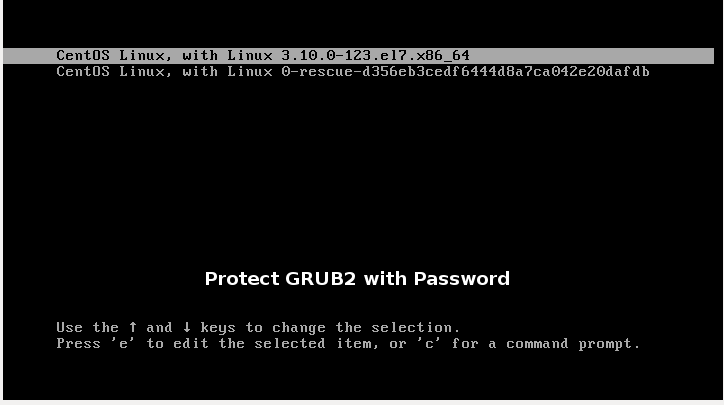
Once you install CentOS 7 alongside your Windows OS, you may find that you cannot boot into Windows. The Grub bootloader may only show your Linux OS as your only options to boot from.

To fix this and have the Grub bootloader list your Windows OS, you need to edit the Grub bootloader files. If you have used CentOS is the past (with 6 or earlier), you may find that editing Grub is different. Previously, you would edit /boot/grub/grub.conf. This is no longer the case, as the grub2.cfg file is generated dynamically, based on dependency files. Here’s what you need to edit to configure your bootloader.
- Boot into CentOS 7, if you haven’t already.
- Determine what partition your Windows OS resides on by running
sudo fdisk -lin Terminal. Here’s my output:Disk /dev/sda: 320.1 GB, 320072933376 bytes, 625142448 sectors Units = sectors of 1 * 512 = 512 bytes Sector size (logical/physical): 512 bytes / 512 bytes I/O size (minimum/optimal): 512 bytes / 512 bytes Disk label type: dos Disk identifier: 0xcd8b1219 Device Boot Start End Blocks Id System /dev/sda1 * 2048 4194303 2096128 7 HPFS/NTFS/exFAT /dev/sda2 4194304 360402758 178104227+ 7 HPFS/NTFS/exFAT /dev/sda3 360402942 625141759 132369409 5 Extended /dev/sda5 612595712 625141759 6273024 82 Linux swap / Solaris /dev/sda6 360407040 361431039 512000 83 Linux /dev/sda7 361433088 612589567 125578240 8e Linux LVM+ In this example, /dev/sda1 is the recovery partition, and /dev/sda2 is the Windows OS partition. Since partition indexes start at zero, the Windows OS partition will be `hd0,1` (a = 0, 2 = 1; or first disk, second partition) when we edit the Grub file. Make note of this. - Open a terminal and navigate to
/etc/grub.d/:cd /etc/grub.d/
- Edit the
40_customfile. You may not see the file if youlsin /grub.d/. That’s okay.sudo nano 40_custom
- You should see the following in the nano text editor:
 #!/bin/sh
 exec tail -n +3 $0
 # This file provides an easy way to add custom menu entries.  Simply type the
 # menu entries you want to add after this comment.  Be careful not to change
 # the 'exec tail' line above.
- Below the last #, type on a new line:
menuentry "Windows 7" { set root=(hd0,1) chainloader +1 } - Finally, run the following to apply the changes to the grub.cfg file:
grub2-mkconfig --output=/boot/grub2/grub.cfg
- Once you reboot, you should see the option of booting into Windows 7. If a default boot entry into Windows (or something else) is requested, then you need to edit the
GRUB_DEFAULTin/etc/default/grub:
GRUB_DEFAULT="Windows 7"
- Once you reboot, you should see the option of booting into Windows 7. If a default boot entry into Windows (or something else) is requested, then you need to edit the
Leave a comment